How to Plan an Anime Pilgrimage Itinerary
Trip Planning · 3 min read
Published July 16, 2026 · Updated August 22, 2026
The mistake every first-time pilgrim makes is planning by series instead of by geography. A single show's locations can span four prefectures; a single Tokyo neighborhood can hold scenes from a dozen shows. The itineraries that work are built the other way around: pick your locations first, cluster them by region, then route each day along train lines. Here's the method.
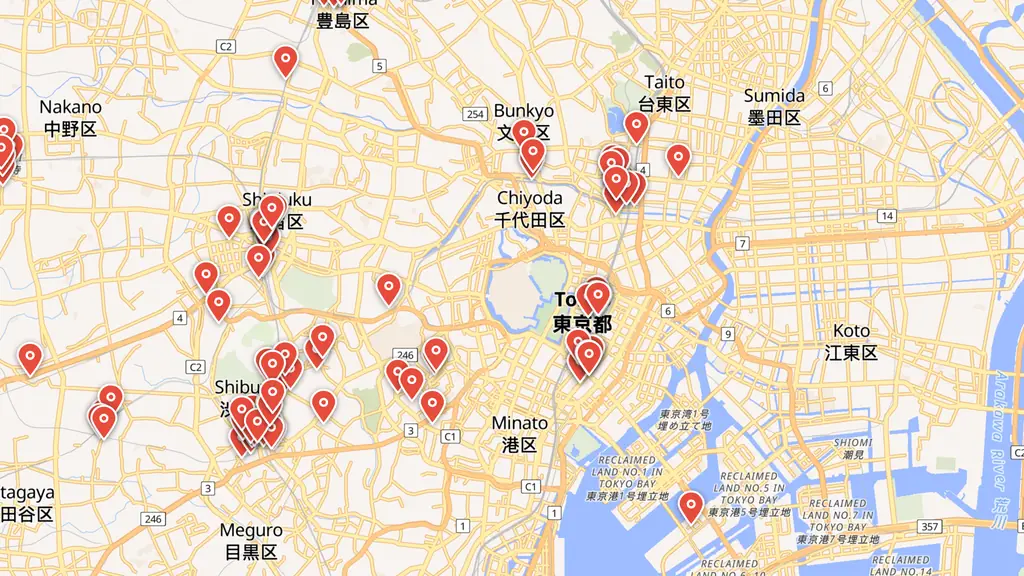
Step 1: Collect locations before booking anything
Start wide. Go through the series you care about on the explore map and save every location that genuinely means something to you — not every location that exists. A pilgrimage day has room for five to eight stops once you account for travel, photo time, and the meal you'll want at that restaurant from episode seven. Twenty must-see spots is a trip; eighty is a spreadsheet you'll abandon on day two.
Step 2: Cluster by region, not by series
Sort your saved locations geographically and accept what the map tells you:
- Tokyo will dominate almost any list — series like Steins;Gate and Tokyo Revengers cluster whole pilgrimages within a few train stops, so budget one to three Tokyo days.
- Day trips from Tokyo cover the classic Kanto pilgrimages: Chichibu for Anohana (about 80 minutes from Ikebukuro on the Seibu line), Enoshima and Kamakura for the Rascal Does Not Dream coastline, Washinomiya for Lucky☆Star.
- Regional anchors need overnights: the Yuru Camp△ campsites around Yamanashi's lakes, Takayama for Hyouka, and anything in Kansai or beyond. One regional anchor per week of travel is a comfortable rhythm.
If a saved location doesn't fit any cluster, cut it or accept it costs half a day. Our prefecture-by-prefecture breakdown helps with these calls.
Step 3: Route each day along train lines
Within a cluster, order stops by station, not by fondness. Japan's rail network is the pilgrimage's best friend — get an IC card (Suica/Pasmo), check whether a JR Pass actually pays off for your route, and structure each day as a line you ride outward with stops, rather than a star you crisscross from your hotel. Rural locations flip the logic: buses to campsites and mountain shrines can run hourly or less, so anchor the day on the least frequent connection and fit everything else around it.
This ordering problem — many stops, walking plus transit, limited daylight — is exactly what we built the Anime Itinerary trip planner for: it takes your saved locations and produces a day-by-day route with real walking and transit legs, either the fastest path or one that takes in more of Japan between stops. It's in closed beta (sign-in required), but saving locations is open to everyone now.
Step 4: Build in the non-negotiables
- Daylight windows. Scene-matching photos need the right light; golden-hour shots of that one staircase don't happen at noon.
- Meals at story locations. If the show made a restaurant famous, expect queues — go early or on weekdays.
- Etiquette buffer. Residential locations deserve unhurried, quiet visits; see our seichi junrei etiquette guide.
- Slack. One unplanned hour per day. The best pilgrimage moments — the shopkeeper with the fan wall, the view the anime didn't show — happen in the slack.
Step 5: Get the plan out of your head
Export the finished route to your calendar (the planner supports .ics export for Google Calendar, Apple Calendar, and Outlook) and share a read-only link with travel companions so everyone knows where day three starts. Then put the spreadsheet away — you've done the planning so the trip doesn't feel planned.